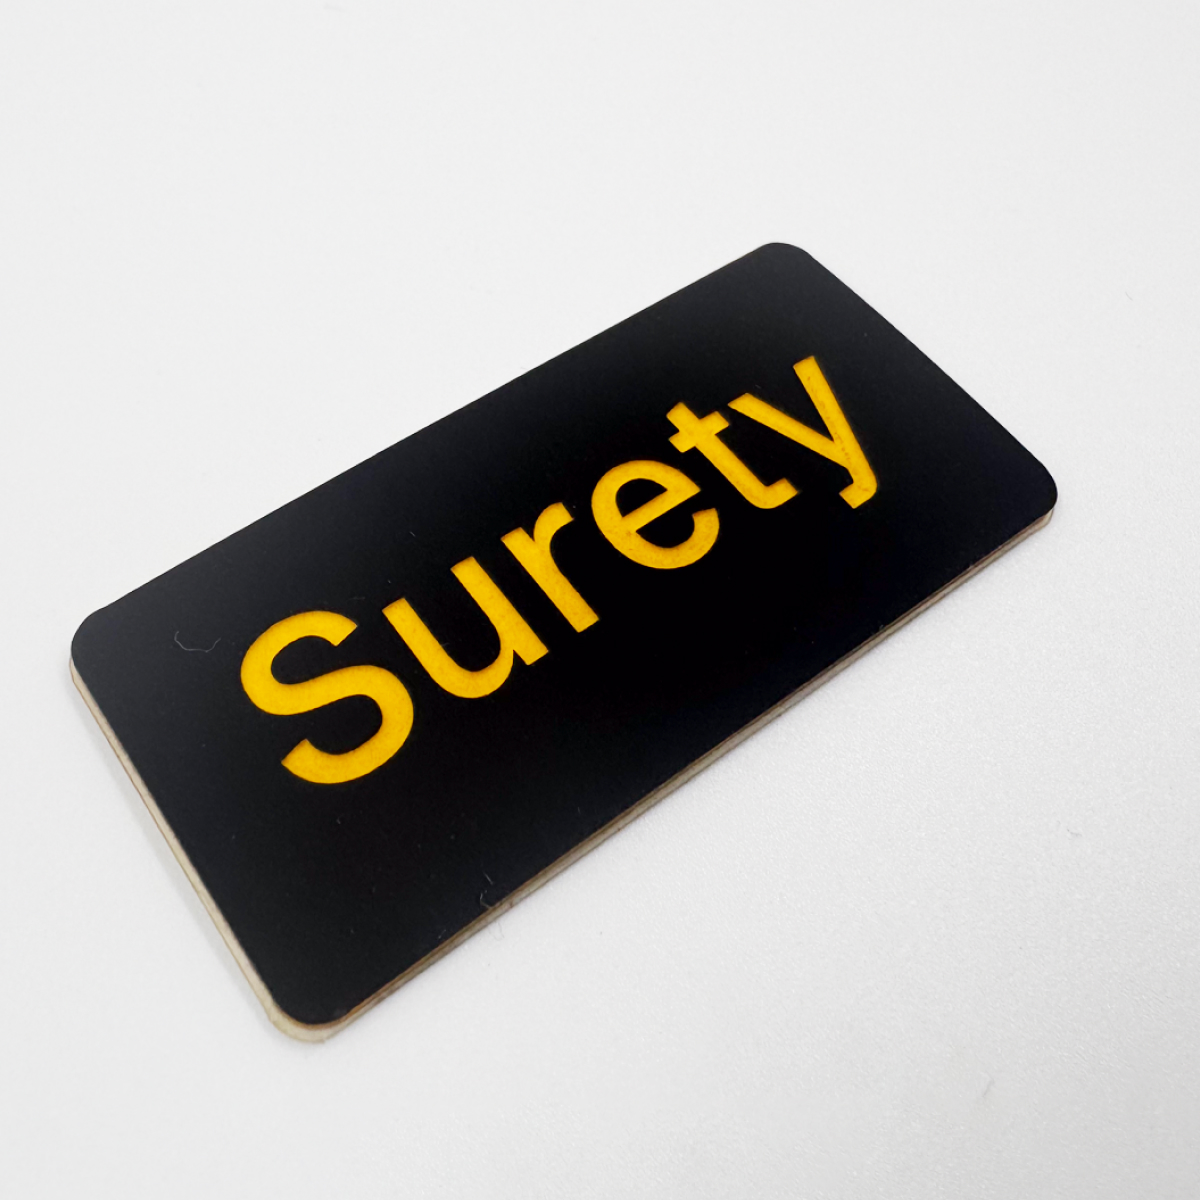
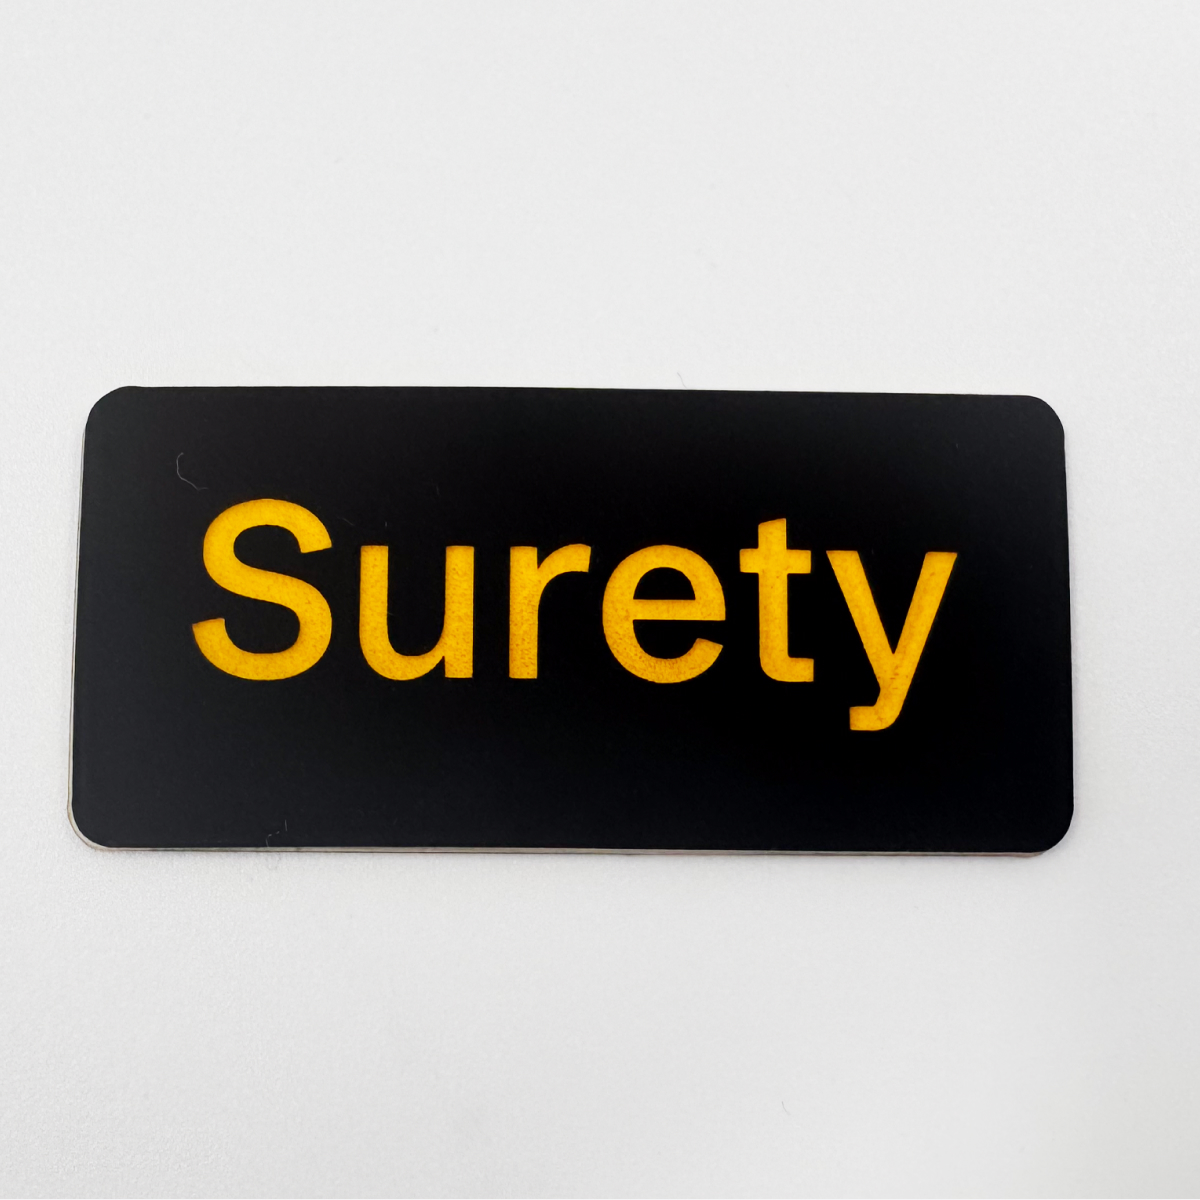
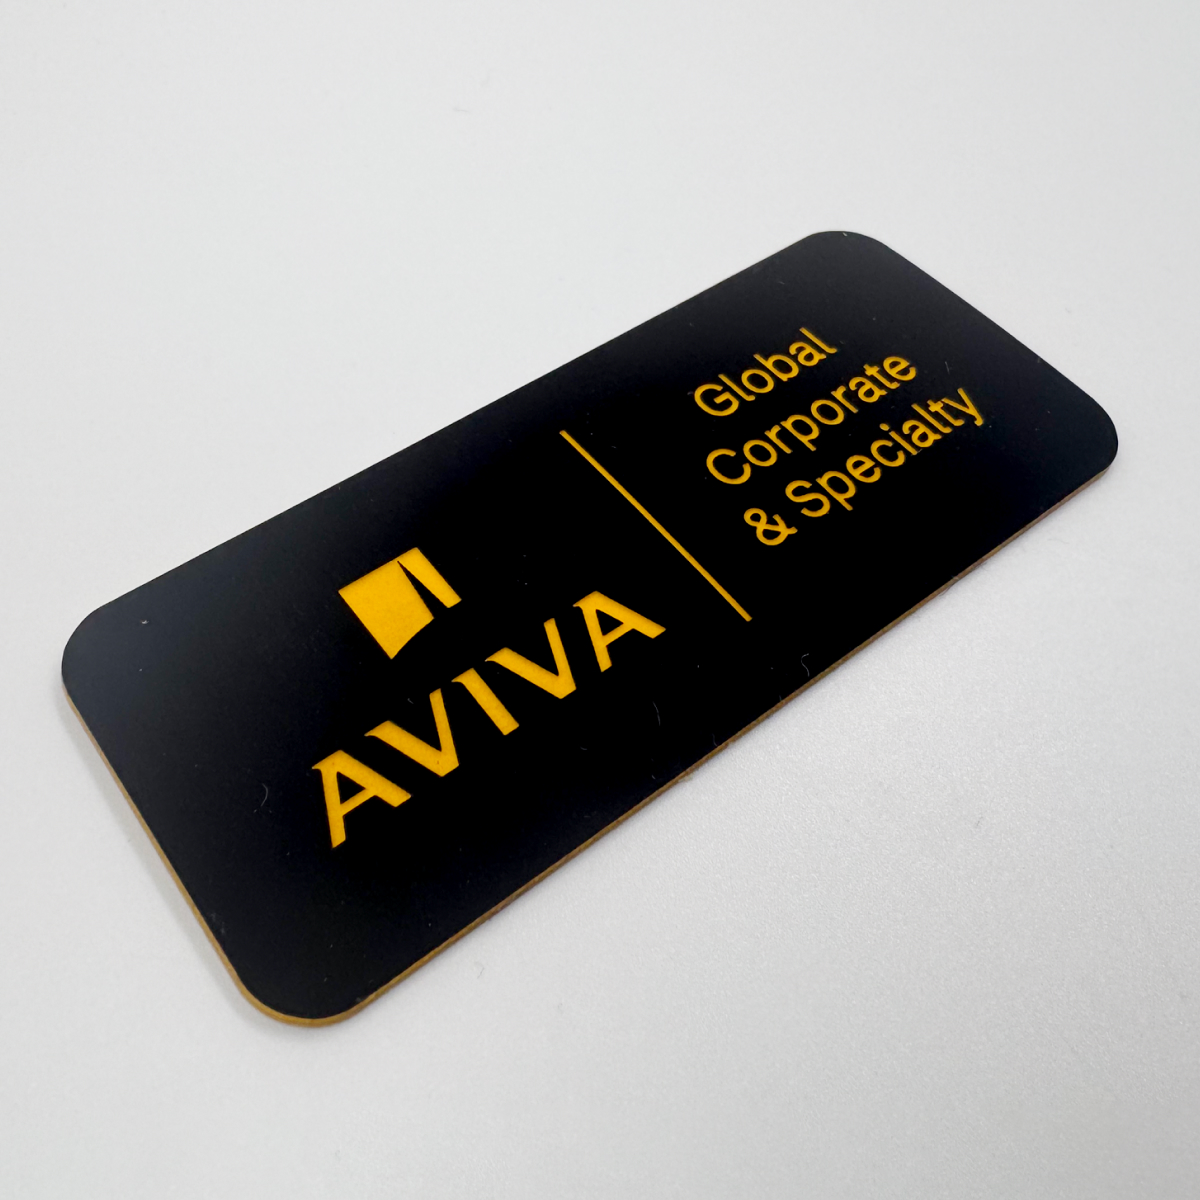
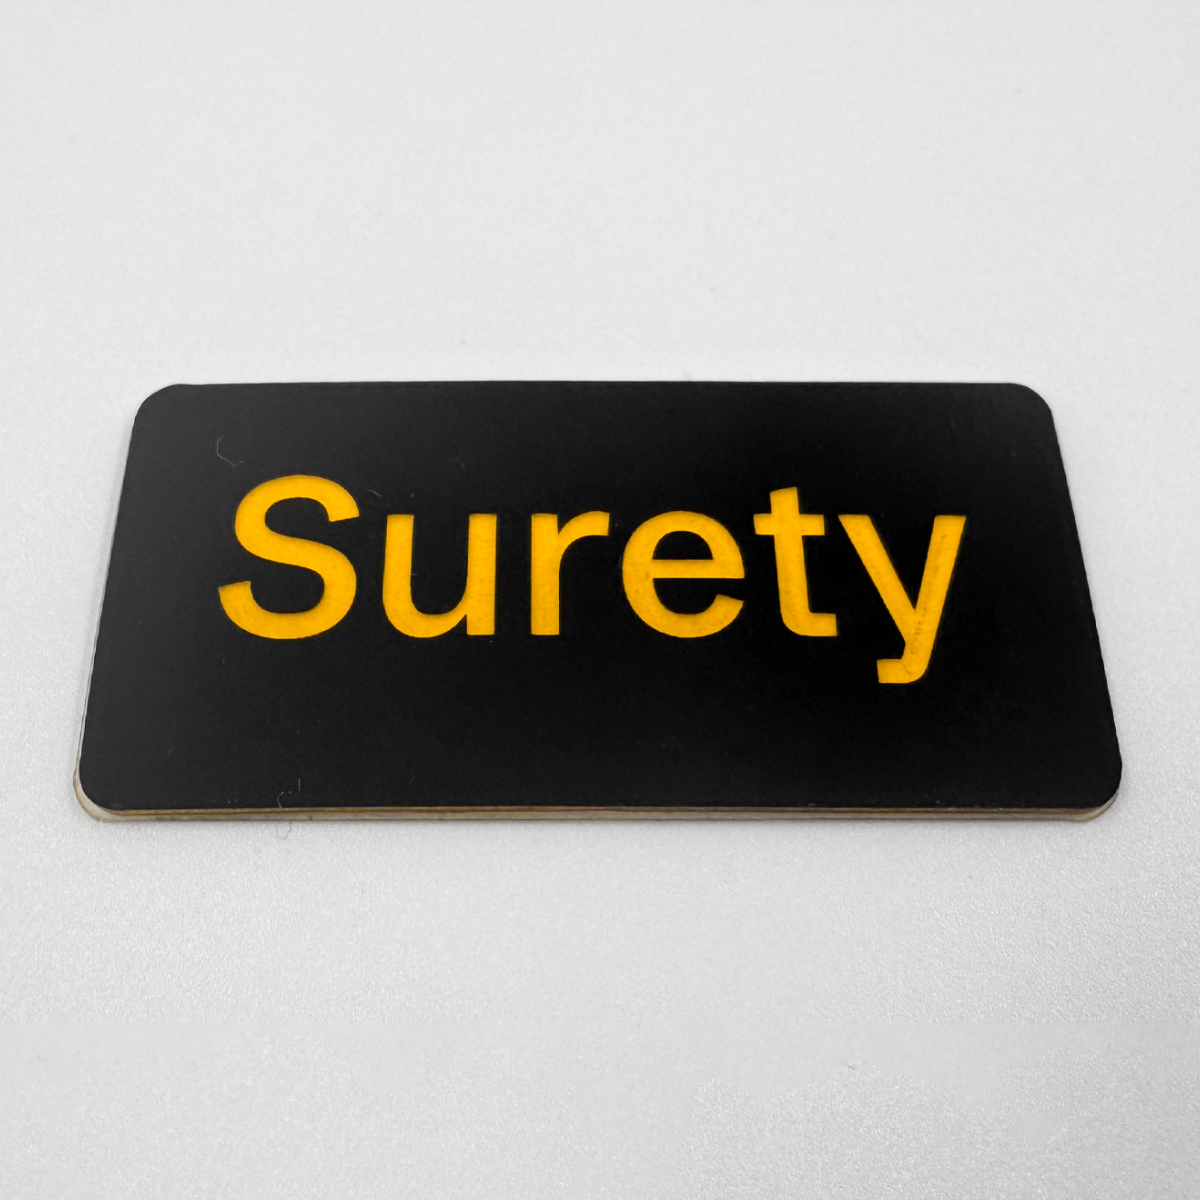
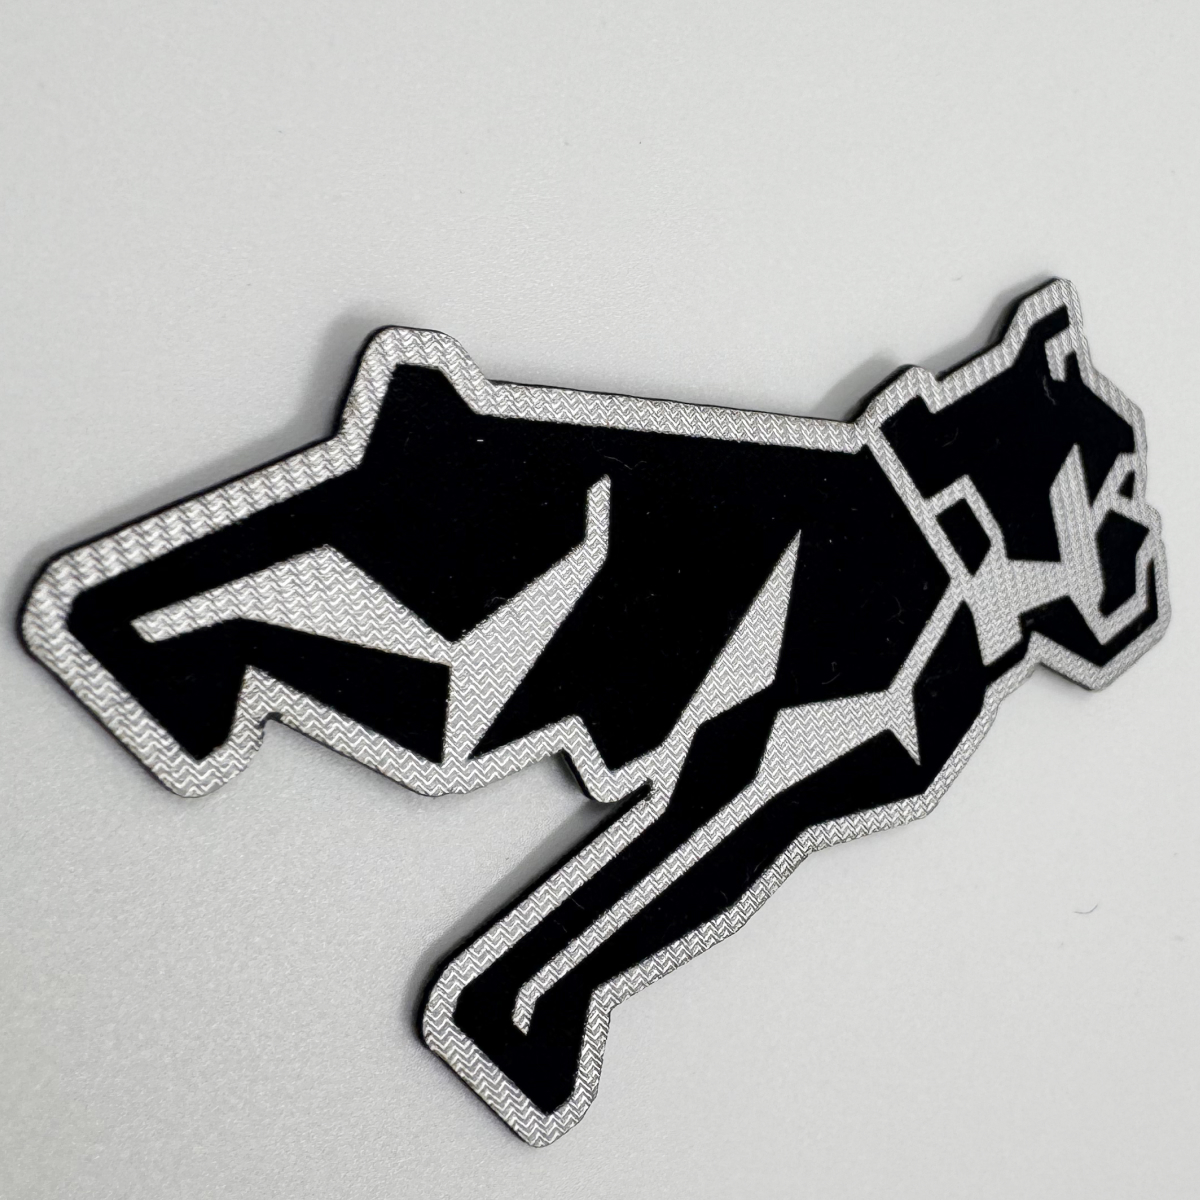
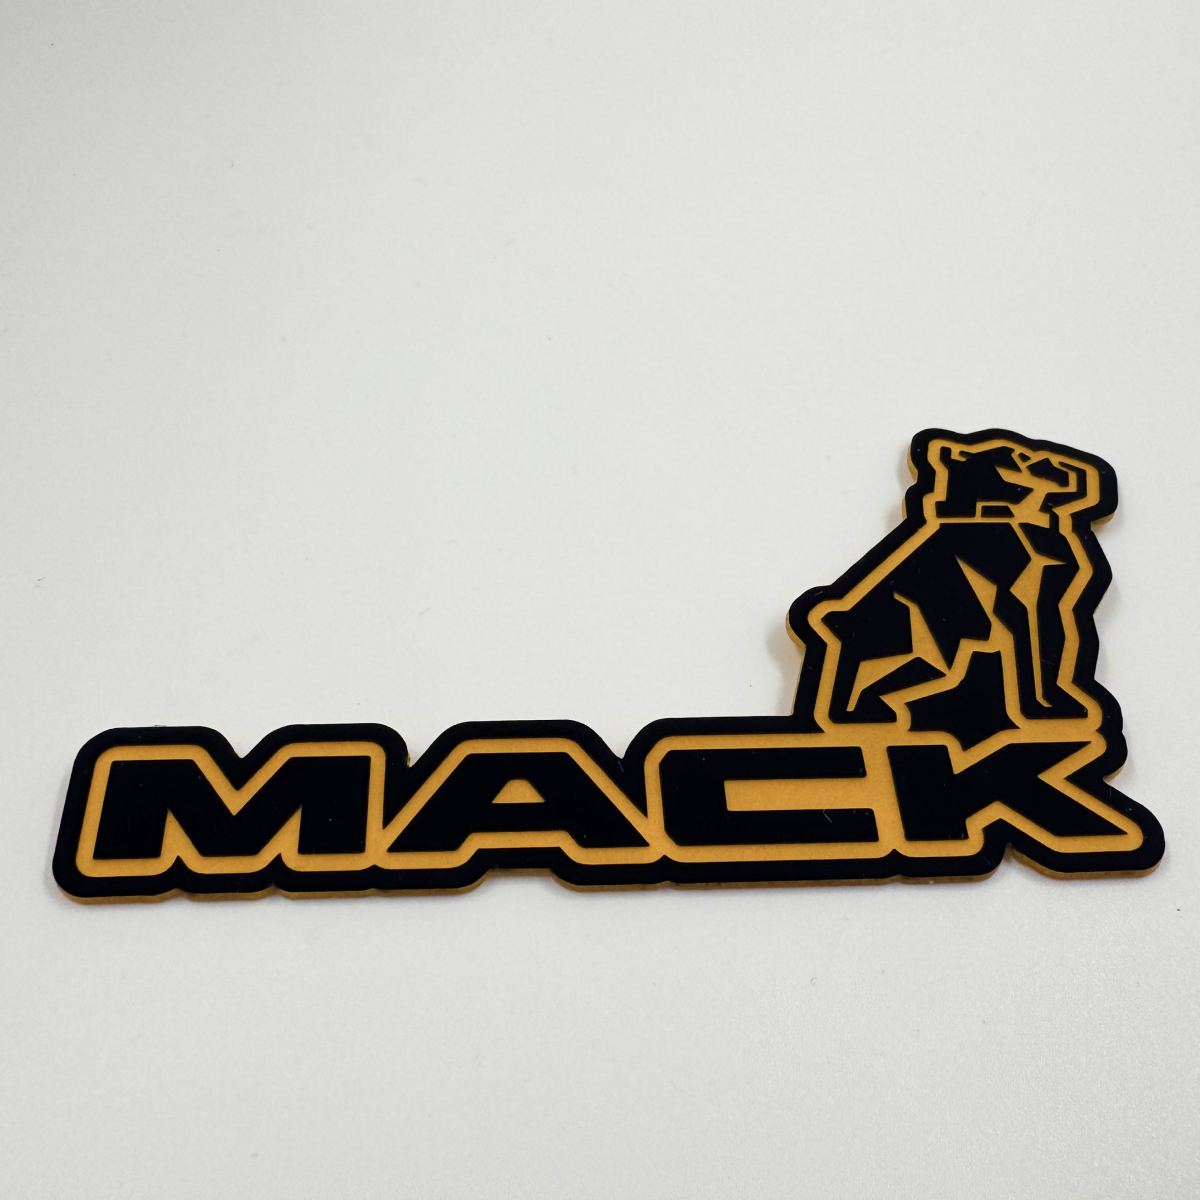
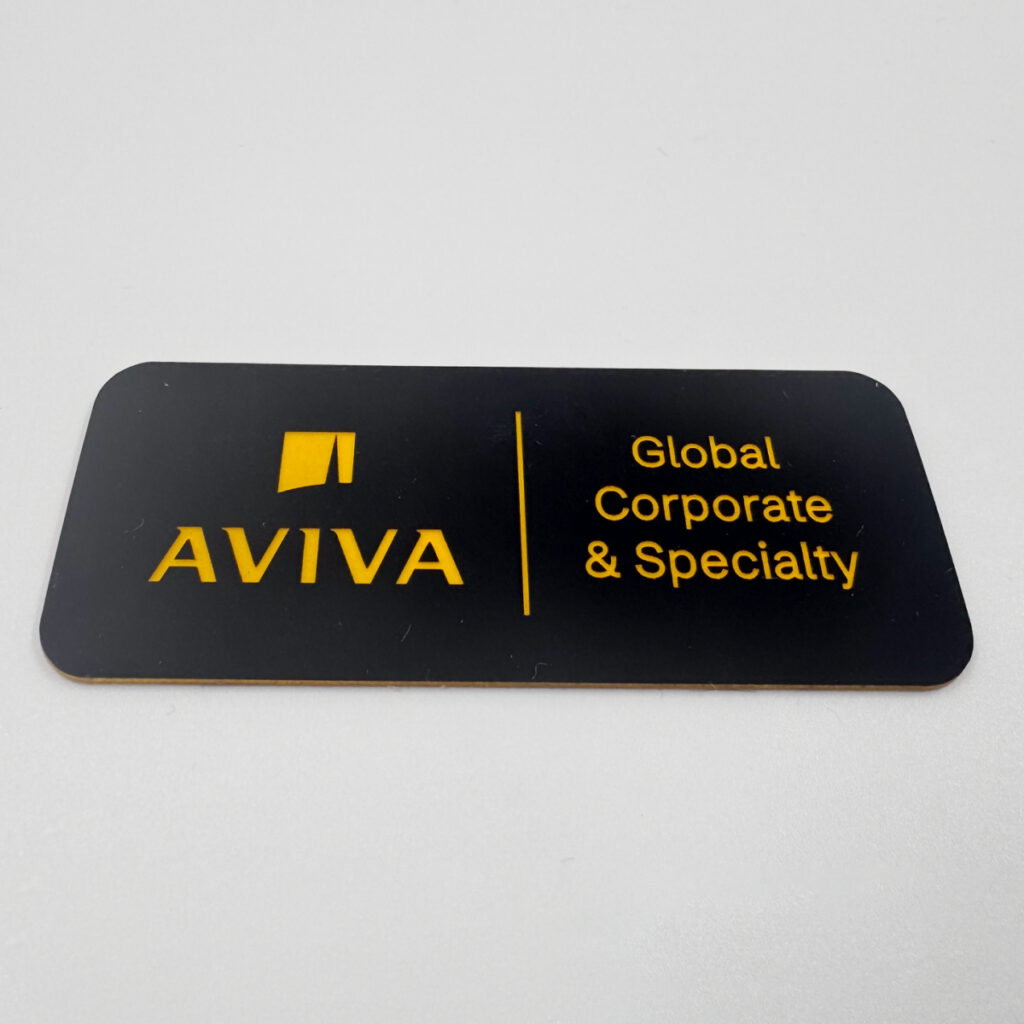
The 2-Layer Silicone Patch is a premium, custom embellishment solution that blends durability, depth, and style. Crafted from two layers of silicone in contrasting colors, this patch is laser-etched to reveal the bottom layer, creating bold, high-contrast designs with a modern, dimensional look. The result is a sleek, tactile finish ideal for branding that needs to stand out and perform in rugged conditions.
These patches are flexible, waterproof, and long-lasting—perfect for athletic wear, outerwear, uniforms, and gear that faces heavy use. The laser etching process allows for precision detailing while maintaining the patch’s structural integrity.
Available in a wide range of stock silicone/PU colors to match your design requirements. Custom color requests may be available depending on production quantities.
Black
White
Red
Blue
Green
Yellow
Navy
Sky Blue
Red
Grey
Metallic Silver
Metallic Gold
Backing options
Heatseal
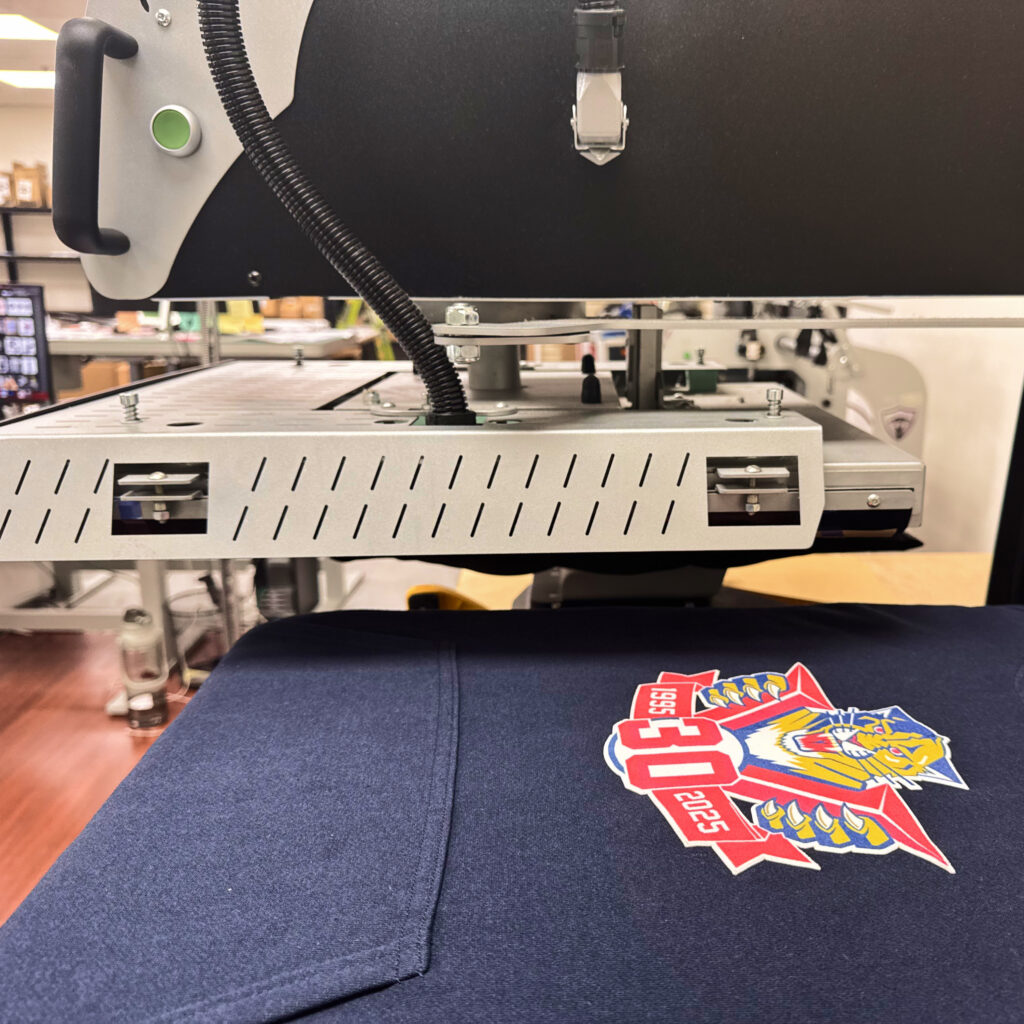
Permanent attachment with heat. Simply use a heat press for 15-20 seconds at 320°F (160°C) for durable adhesion to fabric.
Pressure-Sensitive
Peel-and-stick backing that provides easy application without heat. Ideal for temporary placements or for fabrics that cannot withstand heat.
Note: Not available for Patch with Satin Border
border options
01.
No Border
The patch is precision cut using laser technology, creating a clean, sharp edge without any stitching. This option offers a sleek, modern look with a more subtle, seamless finish.
Accepted Artwork
To achieve the cleanest etching and most accurate results, please submit high-resolution files.
Vector Formats: AI, EPS, PDF Accepted Raster Formats: PNG or JPEG (300 dpi minimum) Color Format: RGB (for digital mockups), Pantone (for silicone color matching if needed)
Ensure artwork has clear linework and bold shapes—thin or intricate elements may lose clarity during etching.
Size
Minimum Size: 1” x 1”
Maximum size: 14” x14”
Limitations
To ensure the best results with our laser etching process, please note the following:
Minimum Line Thickness: All etched lines and artwork strokes must be at least 0.5 mm (0.02”) thick. Thinner lines may not etch cleanly and can lead to inconsistent results.
Minimum Text Height: For legibility, all text should be at least 2 mm (0.08”) in height.
Design Simplicity: Highly detailed or intricate designs may not transfer accurately. We recommend clean, bold artwork for optimal clarity.
Size Limitations: The typical size range starts from 1.5” x 1.5”. Larger patches allow more space for detailed designs and improve visibility of etched elements.
APPLICATION
INSTRUCTIONS
Preheat the fabric for 5 seconds to eliminate moisture.
Set the heat press to 320°F (160°C) with medium pressure (60–70 psi).
Remove the plastic backer from the patch.
Position the patch on the desired area using heat-proof tape.
Press for 15 seconds on the front side of the fabric.
Flip the garment and press for another 15 seconds on the reverse side.
Allow the patch to cool for optimal adhesion. Leave the garment undisturbed for 24–48 hours for best results.
Sew-On Application Instructions
To securely attach your patch to the garment, we recommend using one of the following stitch types
Runstitch
Use a simple, straight stitch along the edges of the patch.
Ideal for a clean, basic attachment.
Zigzag Stitch
Use a zigzag stitch along the perimeter of the patch for extra durability and to prevent fraying.
This stitch provides a bit of flexibility and a stronger hold.
Thread Selection
For the best results, we recommend using Isacord thread due to its durability and smooth finish.
ISACORD Thread Color
Please provide the Isacord thread number you’d like to use for your patch application.
Not Sure Which Thread to Choose?
Feel free to contact us, and we can help guide you in selecting the perfect thread color.
INSTRUCTIONS
To securely attach your patch to the garment, follow these steps:
Use an embroidery machine for the best results.
Perform a run stitch to outline the patch placement on the garment.
Spray temporary adhesive on the back of the patch.
Place the patch onto the outlined area on the garment.
Perform a zigzag stitch to attach the patch securely.
Finish with a satin stitch around the edges for a polished and durable look.
Pressure-Sensitive Backing: Peel off the backing paper and press the patch firmly onto the fabric. Ensure the patch is securely adhered by applying slight pressure for a few seconds.
Washing
INSTRUCTIONS
To keep your custom patches looking fresh and vibrant, follow these care instructions based on the patch type.
General Patch Care Guidelines:
Turn Inside Out – Always turn garments inside out before washing to reduce friction. Use Mild Detergent – Harsh chemicals can damage colors and fabric. Avoid High Heat – Heat can weaken adhesive backing or distort the patch shape.